Difference between revisions of "Open ERP7 Integration"
m (1 revision imported) |
|
(No difference)
| |
Latest revision as of 12:52, 11 May 2017
Contents
[hide]Overview
This document outlines the steps required to integrate the OpenERP 7.0 with Swivel using dual or single channel authentication.
The Swivel install requires configuring an agent on the Swivel server and setting up a shared secret with the code being added to OpenERP 7.0 server to allow communication for authentication.
Due to the complexity of OpenERP, several files need to be changed (or replaced) on the server, then recompiled. Integration with PINsafe is made through Agent-XML.
NOTE: This document refers to the version 7.0 of OpenERP. If using version 7.0 you can replace the files with a simple copy paste, else please refer to the KB article about OpenERP_Custom_Integration.
Prerequisites
OpenERP 7.0 server
Swivel server
The files that need to be replaced: Media:OpenERP7.tar.gz
Swivel Configuration
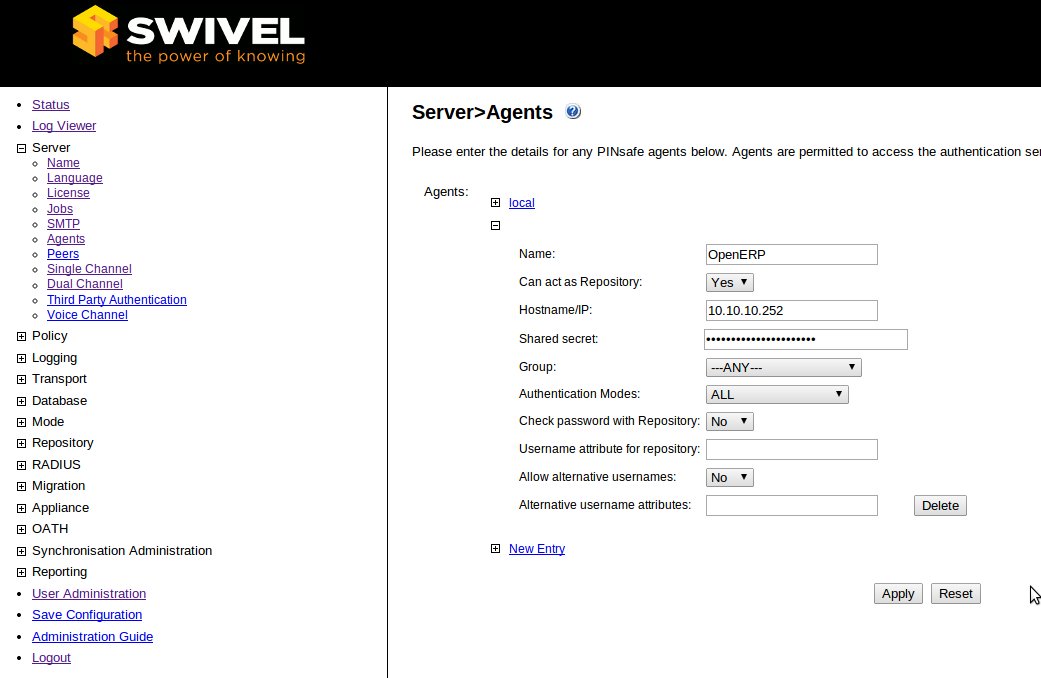
On the Swivel server configure the agent that is permitted to request authentication. On the PINsafe Administration Console select from the server menu Agents and enter the details of the OpenERP IP address and a shared key, then click on apply. Example:
Name : OpenERP,
Hostname/IP : 10.10.10.252,
shared secret : secret
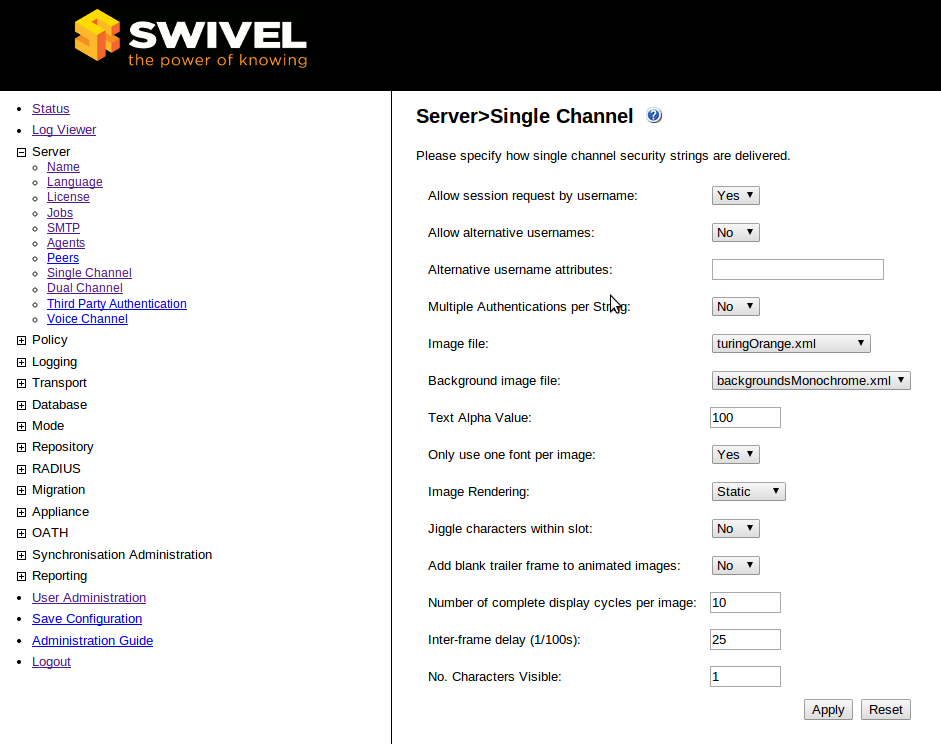
If Single Channel communication is to be used, select from the PINsafe Administration Console Single Channel, and set the Allow image request by username to Yes then click on apply.
Configuring the OpenERP 7 server
Upload the custom files to OpenERP 7
1. Shutdown OpenERP 7 server service.
2. Unpack the "File Package" (you can find it in the Prerequisites secion of this page) to a local directory.
3. Edit the file OpenERP/addons/web/controllers/main.py Search for “10.10.10.201” (line 859) and change it with the IP address or domain name for your Swivel server
4. Edit the file OpenERP/addons/web/controllers/main.py Search for “<Secret>secret<%2FSecret>” (line 860) and change it with “<Secret>THE SECERT YOU CHOSE IN THE AGENT CONFIG<%2FSecret>”
5. Edit the file OpenERP/addons/web/static/source/js/chrome.js Search for “10.10.10.201” (line 710) and change it with the IP address or domain name for your Swivel server
6. FTP ALL the files to the server running OpenERP, respecting the directory structure and overwriting
7. Start OpenERP Server with (recompile option enabled -u) : /”path to openERP”/openerp-server -u “database to run”
Testing
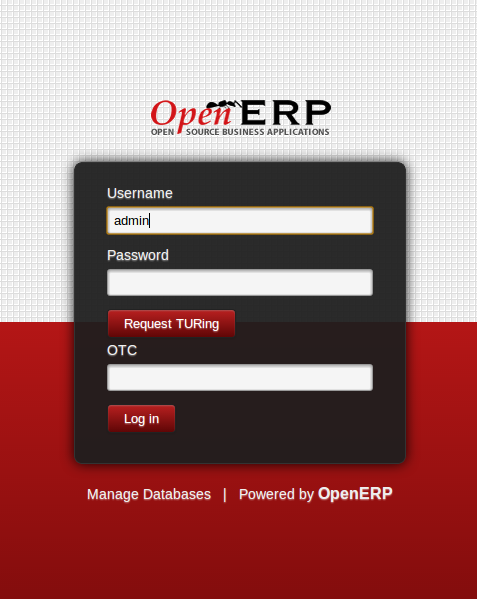
Open a browser and point to http://yourserverip:8069
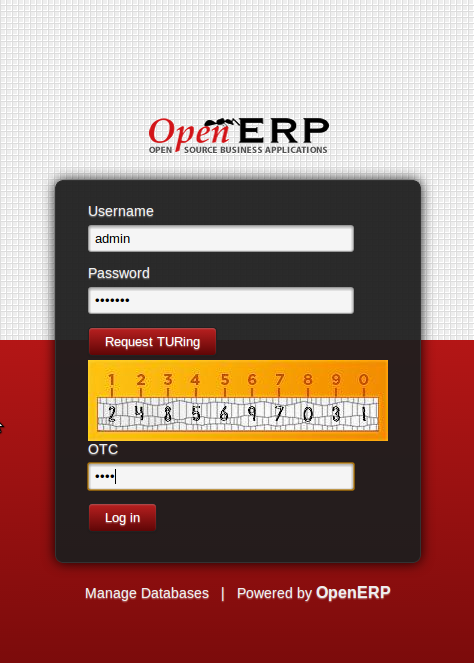
After clicking the “request TURing” button, the swivel appliance log should show “127.0.0.1:Session started for user: admin.”
And this should be the result:
Then after login, the swivel appliance log should read:
“OPENERP SERVER IP” OpenERP:Login successful for user: admin.
Error Messages
On OpenERP stack trace
"ImportError: No module named urllib.urlopen"
Please refer to the OpenERP_Custom_Integration article, section Python 3.0 changes.
On Swivel Log
AgentXML request failed, error: The agent is not authorized to access the server
User fails to authenticate with the above error message in the Swivel log. An Agent on Swivel server has not been defined for the OpenERP server. Go to Server/Agents in the Swivel admin console, and add a new entry, using the IP address of the OpenERP server. Make sure the agent secret is the same as on the OpenERP configuration.


