Difference between revisions of "Client Authentication using Certificates"
(→Define the points within AuthControl Sentry SSO) |
(→Define the points within AuthControl Sentry SSO) |
||
| Line 95: | Line 95: | ||
==Define the points within AuthControl Sentry SSO== | ==Define the points within AuthControl Sentry SSO== | ||
Login to the AuthControl Sentry SSO Administration Portal. Goto Rules: | Login to the AuthControl Sentry SSO Administration Portal. Goto Rules: | ||
| + | |||
[[File:Client Authentication with Certificates 10.png]] | [[File:Client Authentication with Certificates 10.png]] | ||
Against Certificate, click “View Rules”: | Against Certificate, click “View Rules”: | ||
| + | |||
[[File:Client Authentication with Certificates 11.png]] | [[File:Client Authentication with Certificates 11.png]] | ||
Add a new Certificate Rule. You can give any arbitrary name and assign the points you wish to award a user if they present a valid client authentication certificate during authentication: | Add a new Certificate Rule. You can give any arbitrary name and assign the points you wish to award a user if they present a valid client authentication certificate during authentication: | ||
| + | |||
[[File:Client Authentication with Certificates 12.png]] | [[File:Client Authentication with Certificates 12.png]] | ||
Revision as of 10:23, 25 October 2018
Contents
[hide]Client Authentication using Certificates during SSO
Overview
This article describes how to setup and configure Certificate authentication using AuthControl Sentry SSO. Some Linux knowledge and experience with certificates is recommended as this involves command line work and preparation of certificates from the CA within your enterprise. To establish Client Authentication with certificates in AuthControl Sentry, a Java keystore should be created with a certificate that is signed by your Enterprise CA. Changes then need to be made to the Apache Tomcat application server configuration, on the webapps2 connector entry in the server.xml configuration file.
Pre-requisites
- Certificate Authority within your organisation for signing certificates
- Creation of user certificate for “Client Authentication” purposes with Private Key
- Keystore Explorer (freeware) installed on your workstation, to create and view Java Keystore files
- Command line access to the Swivel Secure appliance
- Some experience with the *vi* Linux command for file editing purposes
Setup a Client Authentication keystore
An easy method to create a new Java Keystore is by using a free third-party application called Keystore Explorer. The alternative method would be to take a copy of the keystore associated with the Apache Tomcat connectors (providing https to users connecting to ports 8080 and 8443) and modify it.
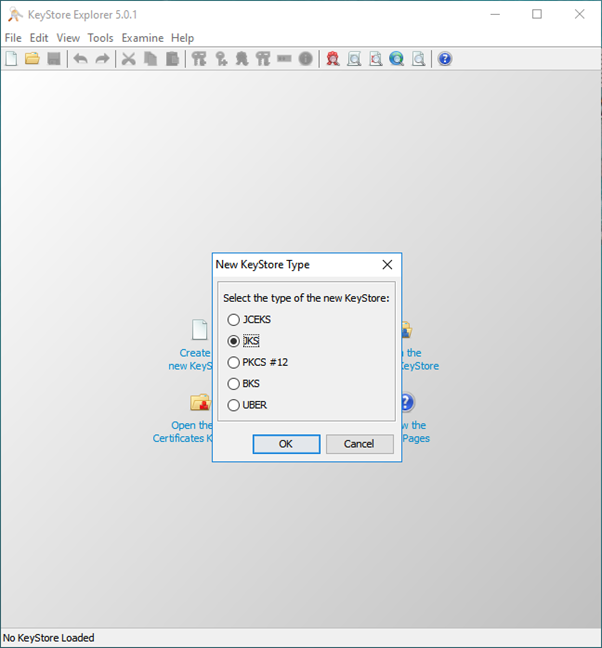
Create a new Java keystore
Create a new keystore e.g. auth.jks Import your Root CA certificate Import any intermediary CA certificates (especially if the certificate on the device was signed by them)
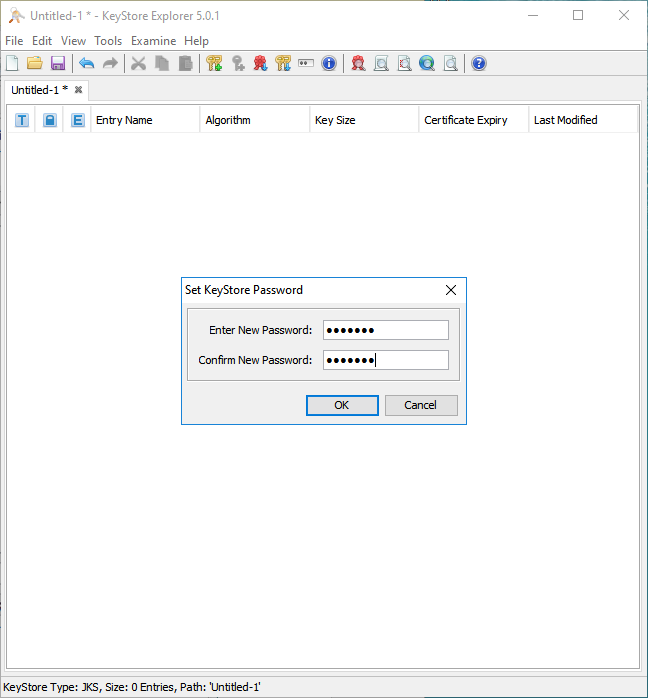
Click File -> Save As. You will first be prompted for a Keystore password. Enter the password as ‘’’lockbox’’’
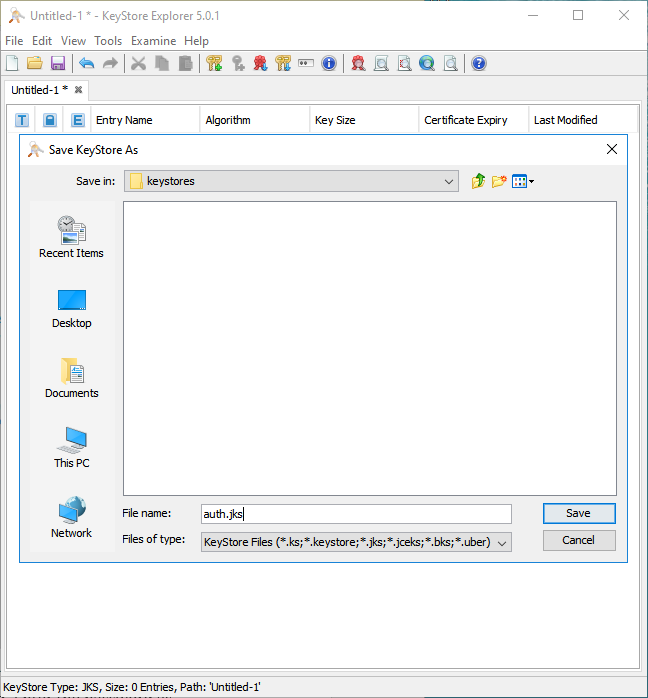
Save the file as auth.jks
Import your CA certificate(s)
Next, import your Intermediate AND/OR your Root CA certificates into the keystore, so that any client certificates generated by your PKI can be validated during RBA using this keystore.
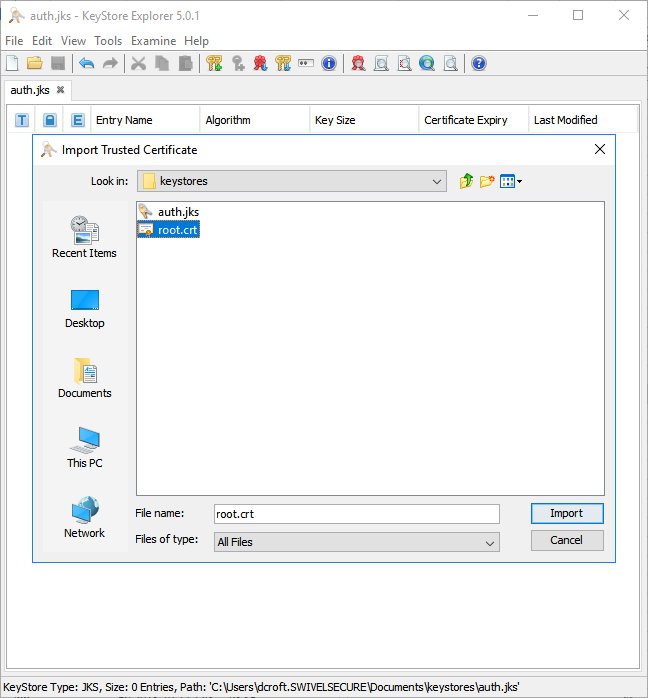
To import your CA trusted certificates, goto Tools -> Import Trusted Certificate.
Locate and select the certificate, then click Import.
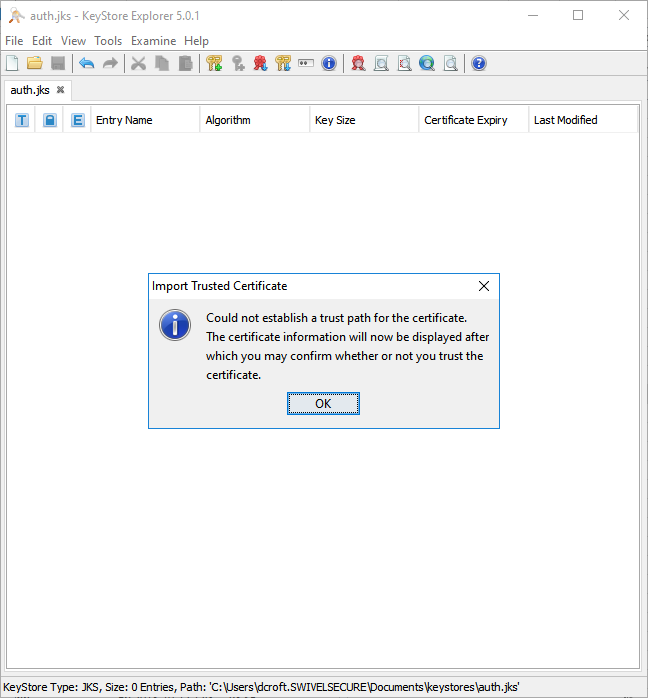
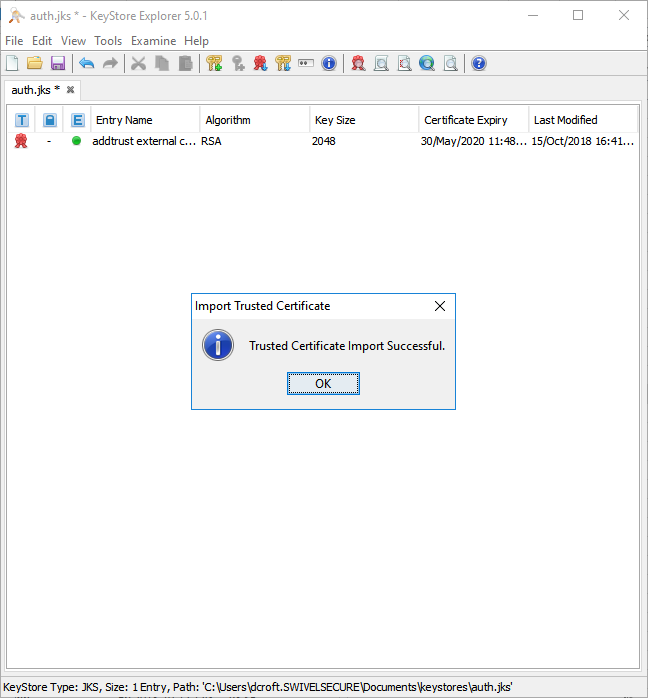
You may receive this warning, where you will be prompted to trust the certificate you have imported:
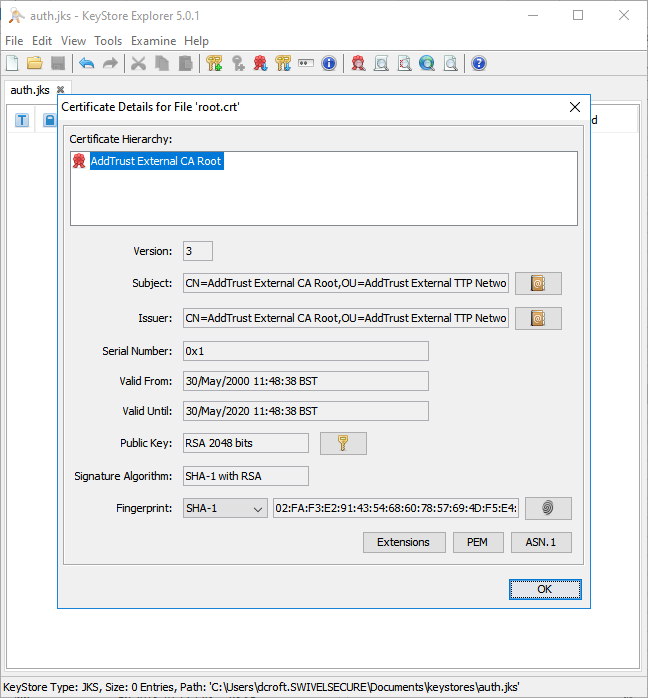
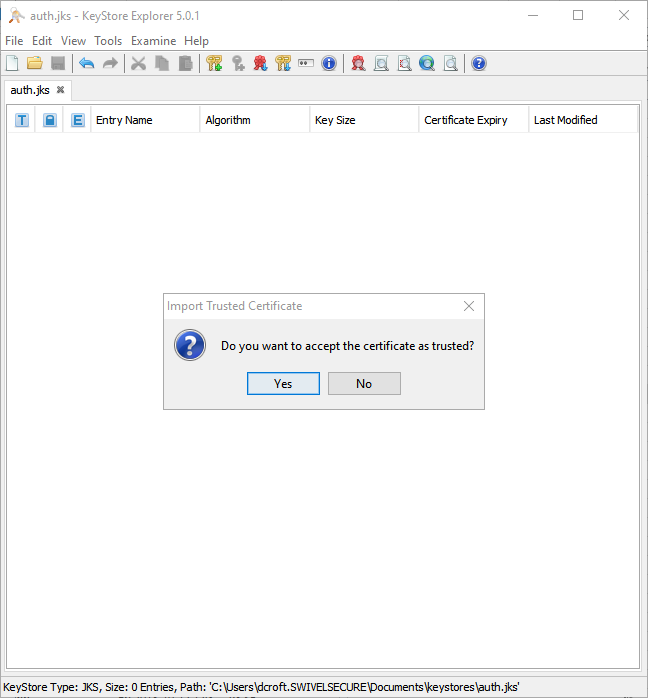
Click OK and follow the onscreen prompts to review and accept the certificate as trusted.
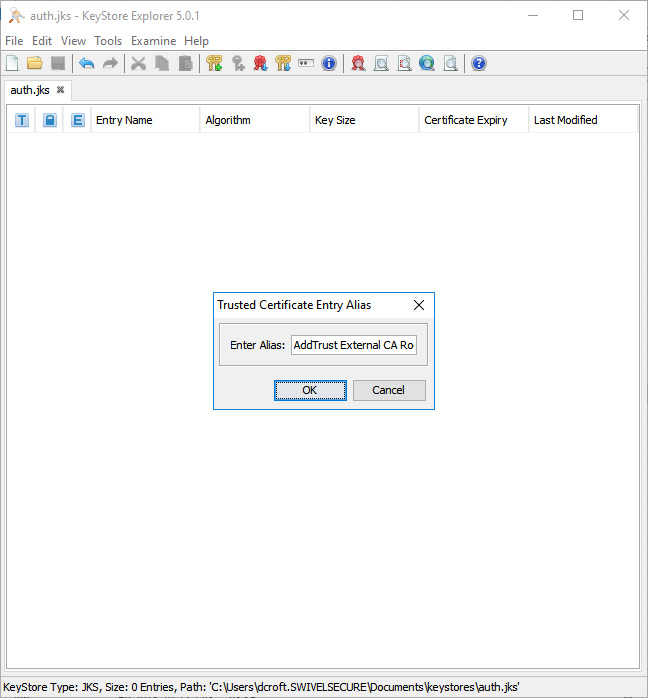
Enter a meaningful alias for the new CA certificate as it will appear in the keystore:
Save your changes, using the File -> Save menu option.
Modify the Apache Tomcat server.xml
On the Swivel Secure appliance, take a backup of the /usr/local/tomcat/conf/server.xml file, prior to making the necessary changes.
For the 8443 connector entry, add the following parameters:
clientAuth="true"
truststoreFile="/home/swivel/.swivel/auth.jks"
truststoreType="JKS"
truststorePass="lockbox"
So that it looks like this...
Before:
   <Service name="webapps2">
   <Connector SSLEnabled="true" acceptCount="100" address="0.0.0.0" ciphers="TLS_ECDHE_DSS_WITH_AES_128_GCM_SHA256,TLS_DHE_ECDSA_WITH_AES_128_GCM_SHA256,TLS_ECDHE_RSA_WITH_AES_128_GCM_SHA256,TLS_DHE_RSA_WITH_AES_128_GCM_SHA256,TLS_ECDHE_RSA_WITH_AES_128_CBC_SHA256,TLS_ECDHE_RSA_WITH_AES_128_CBC_SHA,TLS_ECDHE_RSA_WITH_AES_256_CBC_SHA384,TLS_ECDHE_RSA_WITH_AES_256_CBC_SHA,TLS_RSA_WITH_AES_256_CBC_SHA256,TLS_RSA_WITH_AES_256_CBC_SHA" clientAuth="false" connectionTimeout="20000" disableUploadTimeout="true" enableLookups="false" keystoreFile="/home/swivel/.keystore" keystorePass="lockbox" maxThreads="200" minSpareThreads="25" port="8443" protocol="org.apache.coyote.http11.Http11NioProtocol" redirectPort="8443" scheme="https" secure="true" sslEnabledProtocols="TLSv1,TLSv1.1,TLSv1.2" useServerCipherSuitesOrder="true"/>
       <Engine defaultHost="localhost" name="webapps2">
         <Host appBase="webapps2" autoDeploy="true" name="localhost" unpackWARs="true">
           <Valve className="org.apache.catalina.valves.AccessLogValve" directory="logs" pattern="common" prefix="webapps2" rotatable="false" suffix=".log"/>
         </Host>
       </Engine>
   </Service>
After:
   <Service name="webapps2">
   <Connector SSLEnabled="true" acceptCount="100" address="0.0.0.0" ciphers="TLS_ECDHE_DSS_WITH_AES_128_GCM_SHA256,TLS_DHE_ECDSA_WITH_AES_128_GCM_SHA256,TLS_ECDHE_RSA_WITH_AES_128_GCM_SHA256,TLS_DHE_RSA_WITH_AES_128_GCM_SHA256,TLS_ECDHE_RSA_WITH_AES_128_CBC_SHA256,TLS_ECDHE_RSA_WITH_AES_128_CBC_SHA,TLS_ECDHE_RSA_WITH_AES_256_CBC_SHA384,TLS_ECDHE_RSA_WITH_AES_256_CBC_SHA,TLS_RSA_WITH_AES_256_CBC_SHA256,TLS_RSA_WITH_AES_256_CBC_SHA" clientAuth="true"  truststoreFile="/home/swivel/.swivel/auth.jks" truststoreType="JKS" truststorePass="lockbox" connectionTimeout="20000" disableUploadTimeout="true" enableLookups="false" keystoreFile="/home/swivel/.keystore" keystorePass="lockbox" maxThreads="200" minSpareThreads="25" port="8443" protocol="org.apache.coyote.http11.Http11NioProtocol" redirectPort="8443" scheme="https" secure="true" sslEnabledProtocols="TLSv1,TLSv1.1,TLSv1.2" useServerCipherSuitesOrder="true"/>
       <Engine defaultHost="localhost" name="webapps2">
         <Host appBase="webapps2" autoDeploy="true" name="localhost" unpackWARs="true">
           <Valve className="org.apache.catalina.valves.AccessLogValve" directory="logs" pattern="common" prefix="webapps2" rotatable="false" suffix=".log"/>
         </Host>
       </Engine>
   </Service>
Define the points within AuthControl Sentry SSO
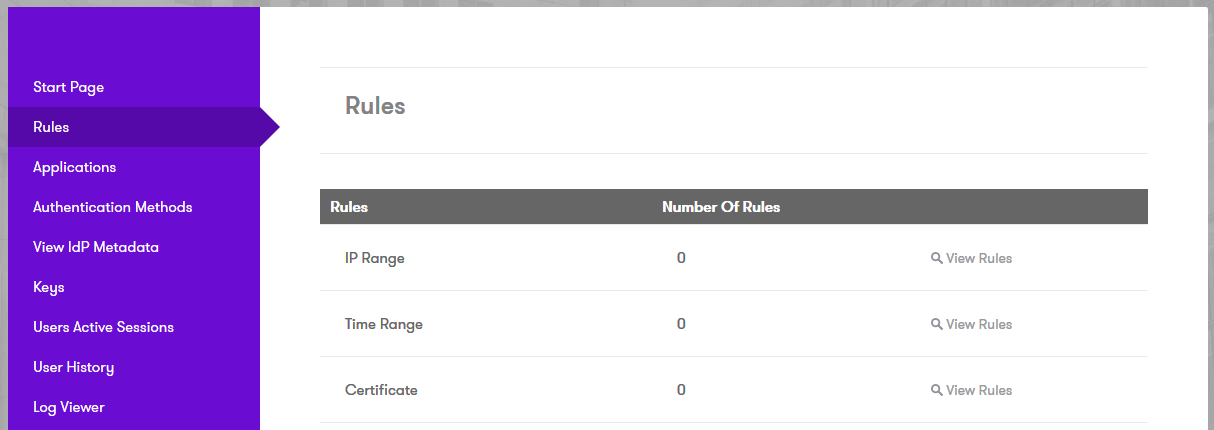
Login to the AuthControl Sentry SSO Administration Portal. Goto Rules:
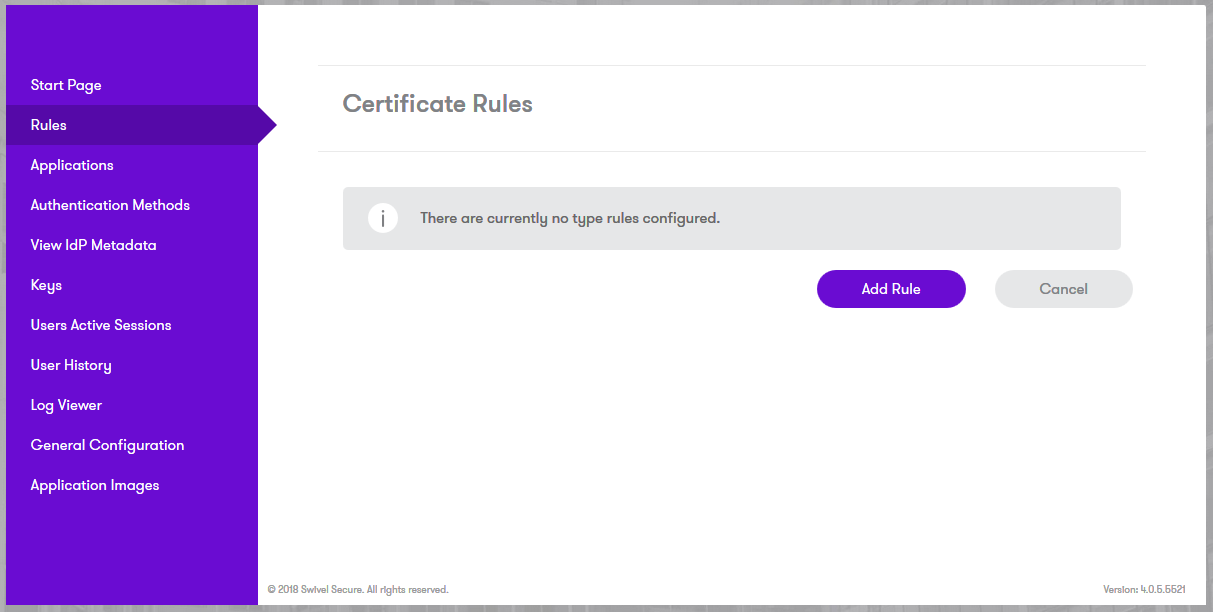
Against Certificate, click “View Rules”:
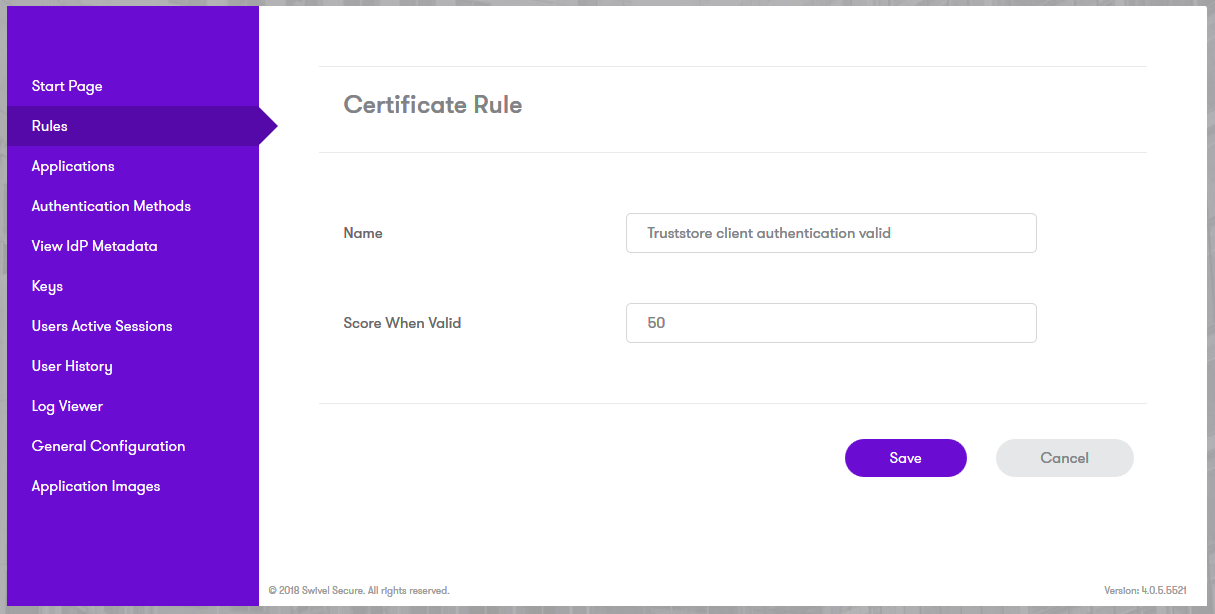
Add a new Certificate Rule. You can give any arbitrary name and assign the points you wish to award a user if they present a valid client authentication certificate during authentication:
