Difference between revisions of "DRAC Card How To Guide"
m (1 revision imported) |
|
(No difference)
| |
Latest revision as of 12:52, 11 May 2017
Contents
DELL Remote Access Controller How To Guide
Introduction
This outlines the use and configuration of the DELL Remote Access Controller card supplied on the Swivel DELL appliances.
Overview
The DRAC card allows for remote management of the Swivel appliance, and also allows the console to be redirected through a web browser.
Prerequisites
Swivel appliance with DRAC card
Please see the following client-side requirements for each DRAC model respectively:
DRAC 5 - DELL Release Notes PDF
iDRAC 6 - DELL Release Notes PDF
iDRAC 7 - DELL Release Notes PDF
Baseline
DELL PowerEdge R200
DRAC with firmware 1.7
Architecture
Direct connection through cross-over cable or through network hub or switch
DRAC Configuration
Connecting to the DRAC
Direct connection through cross-over cable or through network hub or switch
Configure the client PC with an IP address on the 192.168.0.0 network (excluding 192.168.0.120)
Connect by a web browser to http://192.168.0.120
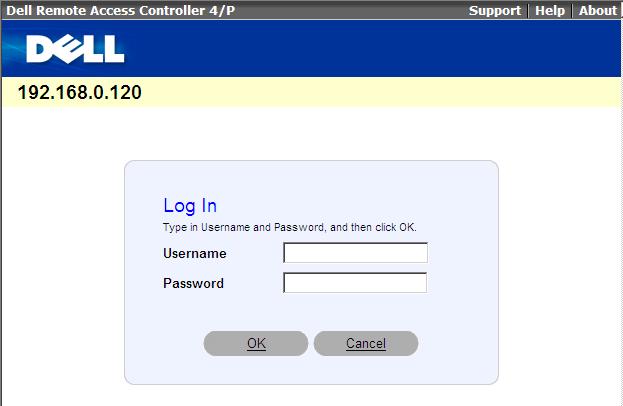
Login to the DRAC
Login to the DRAC with the following:
Username: root
Password: calvin
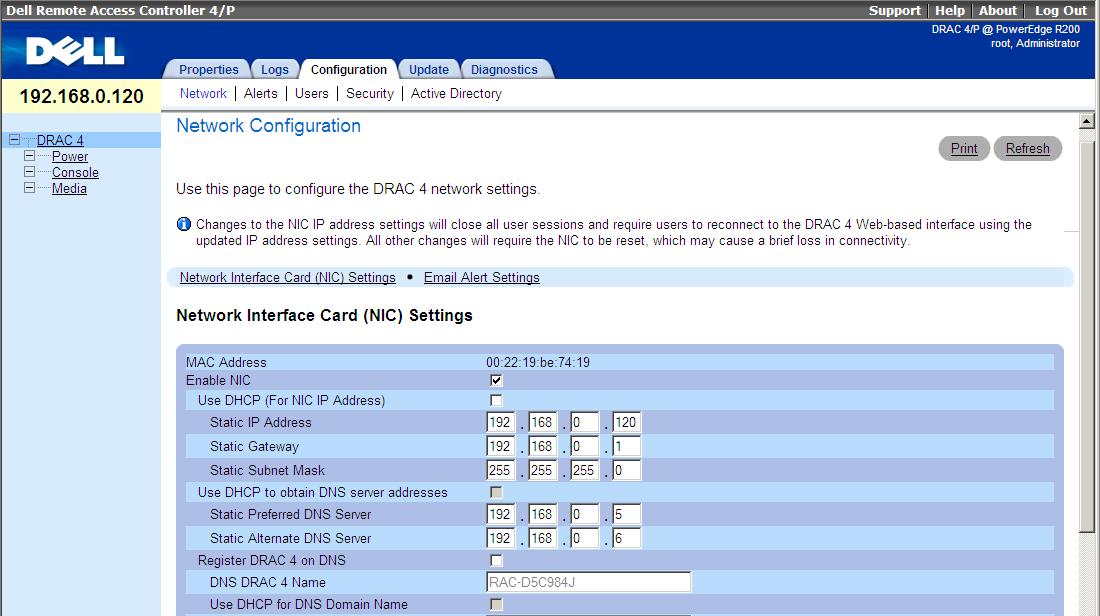
Configure the DRAC Network Interface
From the DRAC menu select Configuration, and then Network. Change the Network settings to the desired values.
Changing Network values will result in loss of connectivity through the old IP address.
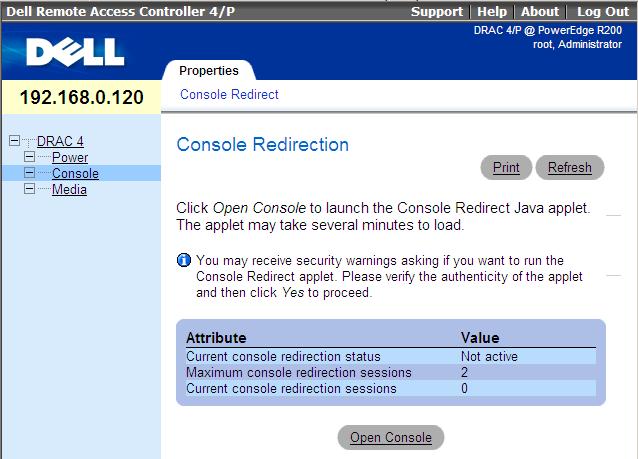
Console redirect through the DRAC Network Interface
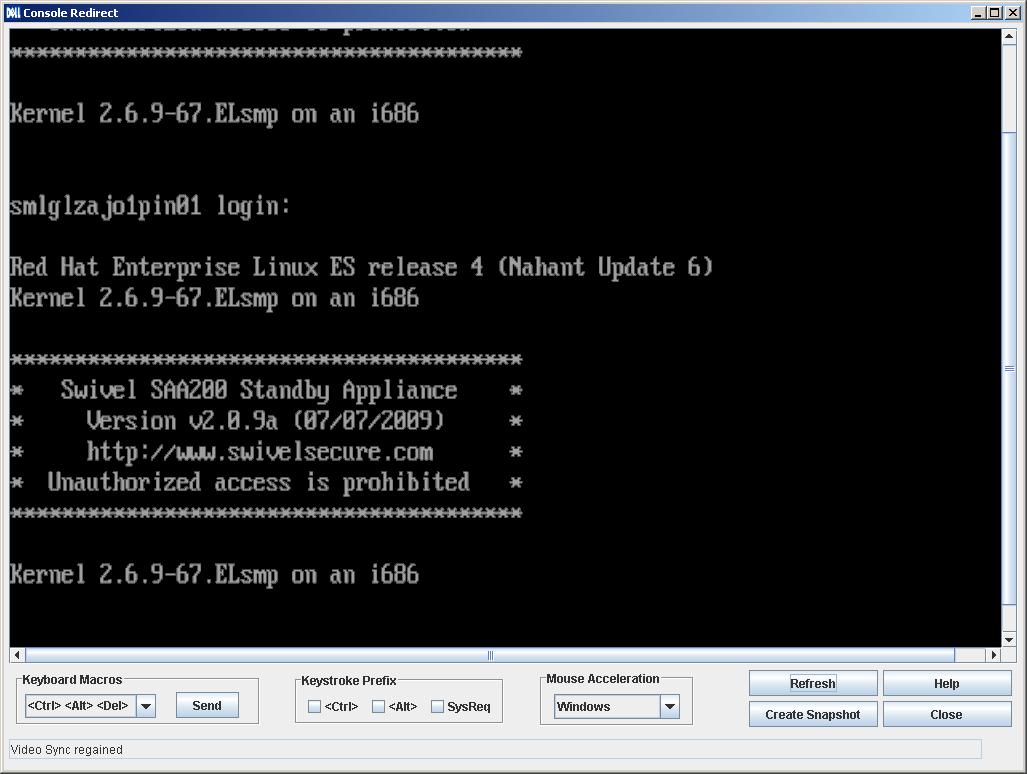
The DRAC can redirect from the console of the appliance to a web browser session. Select Console then Console Redirect.
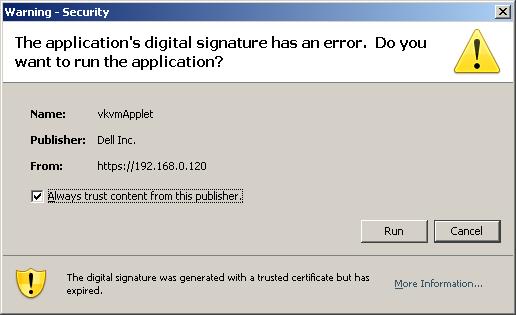
This will open up a Security Warning box asking to run the application, select Run.
A window will open allowing access to the console.
Console configuration of the DRAC Interface
Connect to the PINsafe server through the management console connecting a monitor to the VGA port of the DRAC card. Wait for the DRAC configuration option, and press CTRL-D to enter the options menu.
IP address of the DRAC from the Command Line
Login to the CMI and select the Advanced options to get command line access then run the command racadm getniccfg
Example:
  racadm getniccfg
  NIC Enabled = 1
  DHCP Enabled = 0
  IP Address = 192.168.0.120
  Subnet Mask = 255.255.255.0
  Gateway = 192.168.0.1
DRAC reset account password
How to reset config if you cannot remember the password.
You can only do this from the O/S
tool required: racadm
- This will reset the first account to the default password: calvin
- to find out the user name of the first account (1) use the following command
/opt/dell/srvadmin/sbin/racadm getconfig -g cfgUserAdmin -i 1
- now to reset that password use the following command
command line: /opt/dell/srvadmin/sbin/racadm config -g cfgUserAdmin -o cfgUserAdminPassword -i 1 "calvin"
If you are unable to access via O/S you will need to boot with System Rescue CD
press F11
Then select SATA CD-ROM device
When prompted press Enter (too select the default boot option)
select 40 for keyboard type (UK)
Once you are at command prompt issue the following commands.
ifconfig eth0 192.168.0.99 netmask 255.255.255.0
route add -net 0.0.0.0 netmask 255.255.255.0 gw 192.168.0.254
passwd
You will now be prompted for passwd please enter lockbox
Find out user name: racadm getconfig -g cfgUserAdmin -i 1
Now issue the command: racadm config -g cfgUserAdmin -o cfgUserAdminPassword -i 1 "calvin"
