OneTouch Demo Application
Contents
Overview
This document outlines the installation and configuration of the Swivel OneTouch Demo application. The application is designed to be installed withing a Tomcat Webappss folder such as the webapps2 on a Swivel appliance.
Prerequisites
Download the software from Downloads
Ensure the Latest version of the Swivel Appliance Proxy is installed from Downloads
Swivel OneTouch Demo Application Installation
Copy the war file to the /webapps2 folder on a Swivel appliance. It should automatically deploy and create a folder.
Swivel OneTouch Demo Application Installation
To configure the parameters to point to the Core and/or Proxy it’s necessary to modify the file usr/local/tomcat/webapps2/onetouch/WEB-INF/classes/settings.properties
The following configuration will allow access to a local Swivel instance.
 pinsafessl=false

 pinsafeserver=127.0.0.1

 pinsafecontext=pinsafe

 pinsafesecret=secret

 pinsafeport=8181

 imagessl=true

 imageserver=your.swivel.public.DNS

 imagecontext=proxy

 imageport=8443

 selfsigned=true

 vpnHomeURLFor2Stages=https://your.vpn.public.DNS/onetouch2stages

 timeoutPolling=60000
vpnHomeURLFor2Stages is used on the authentication with 2 stages.
timeoutPolling indicates the maximum time that the One Touch login page will wait for OTC Core response.
Swivel Core Configuration
For the 2 stage authentication with RADIUS it’s needed define a new challenge. Create the file and add the following in the file /home/swivel/.swivel/conf/radius-challenges.txt
With the contents:
Name-One touch-group, identifier of the challenge on Juniper, 0
Testing
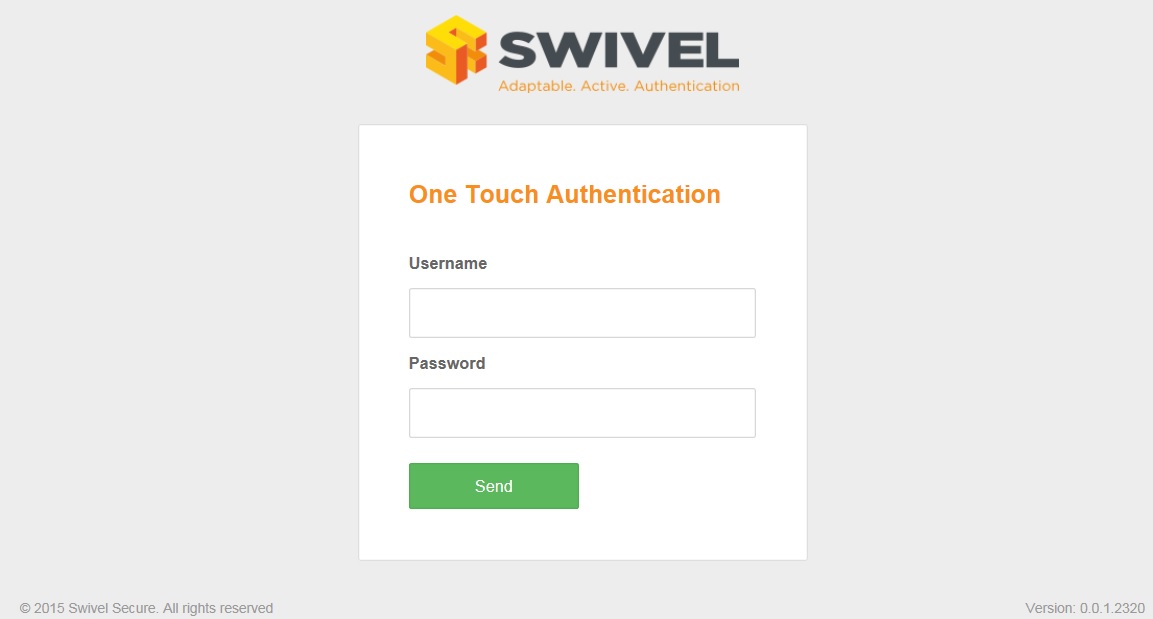
Browsing to the One Touch application https://OneTouch_URL:8443/onetouch should present a login page as below.
