HOB Remote Desktop VPN
Contents
Introduction
This document outlines the integration of PINsafe with the HOB Remote Desktop VPN.
Prerequisites
PINsafe 3.x
HOB RD VPN WebSecureProxy
If the graphical single Channel image is to be used, then the image must be accessible by the client from the internet, this is usually done by a NAT to the PINsafe server.
HOB RD VPN WebSecureProxy PINsafe Integration files
Baseline
PINsafe 3.7
HOB RD VPN WebSecureProxy 2.2 0108
Architecture
Users connect to the HOB RD VPN WebSecureProxy login page and enter their username and One Time Code. The authentication information is sent to the PINsafe server by RADIUS. RADIUS ChangePIN and Two Stage Challenge and Response authentication are also supported through RADIUS.
Swivel Configuration
Configuring the RADIUS server
On the Swivel Administration console configure the RADIUS Server and NAS, see RADIUS Configuration
Enabling Session creation with username
To allow the TURing image, PINpad and other single channel images, under Server/Single Channel set Allow session request by username to Yes.
Setting up Swivel Dual Channel Transports
HOB RD VPN WebSecureProxy Integration
Create a RADIUS Server
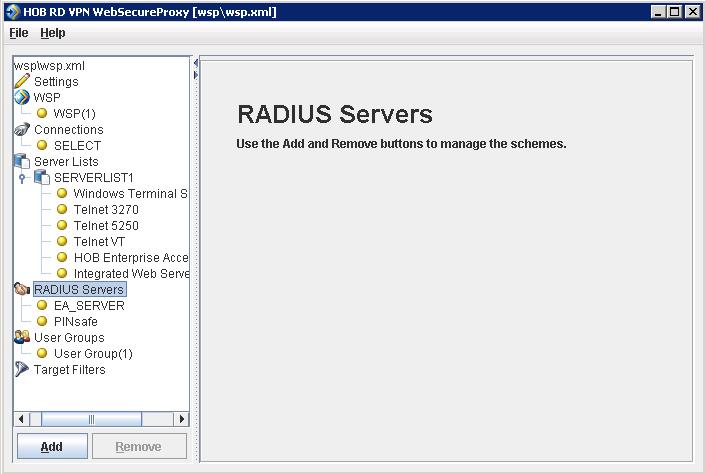
On the HOB RD VPN WebSecureProxy Administration Configuration select RADIUS Servers then Add.
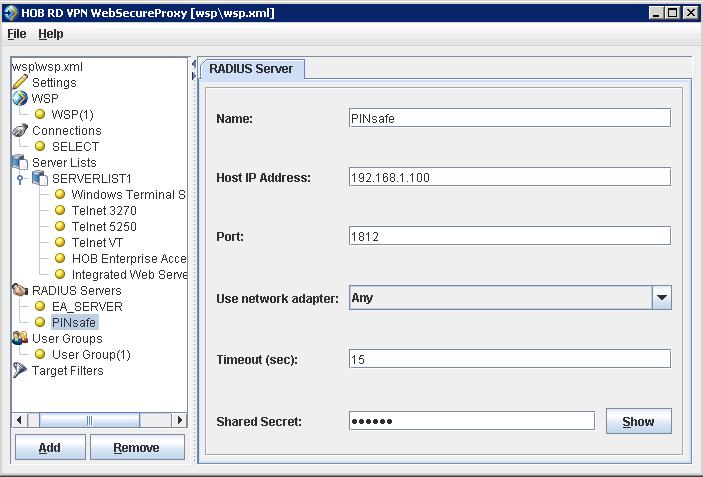
Enter the details for the PINsafe RADIUS server, the following information is required:
Name: A descriptive name such as PINsafe
Host IP Address: The hostname or IP address of the PINsafe server
Port The port used for RADIUS authentication on the PINsafe server, usually 1812
Use network adapter: The network adapter from which authentication requests are sent from.
Timeout (sec): The length of time to wait for a RADIUS authentication attempt fails.
Shared Secret: A value that is also entered and must match on the PINsafe RADIUS NAS.
When complete click on File, then Save. For settings to take affect the HOB WebSecureProxy may need to be restarted.
Assign the PINsafe RADIUS server to a Connection
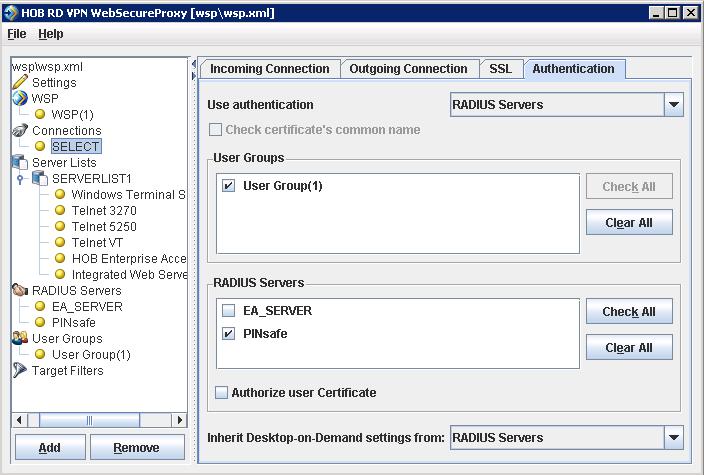
On the HOB RD VPN WebSecureProxy Administration Configuration select Connections, then the name of the required connection, then select the Authentication tab. Set the Use authentication to RADIUS and ensure that the PINsafe RADIUS server is selected.
When complete click on File, then Save. For settings to take affect the HOB WebSecureProxy may need to be restarted.
Additional Installation Options
Single Channel, Index and Message request
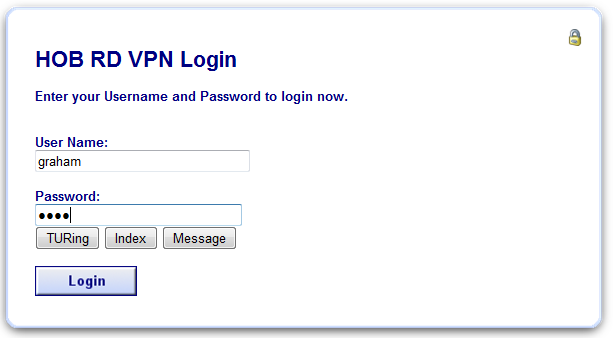
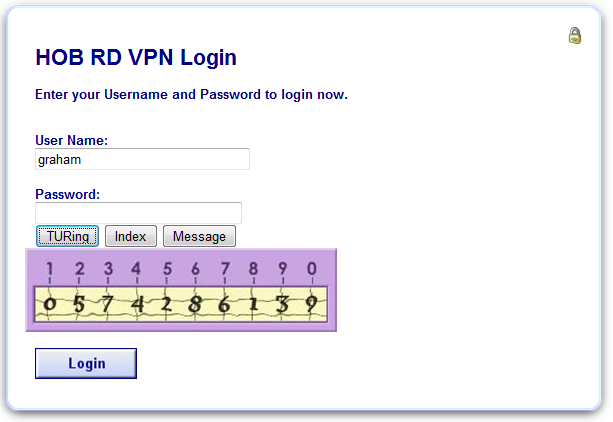
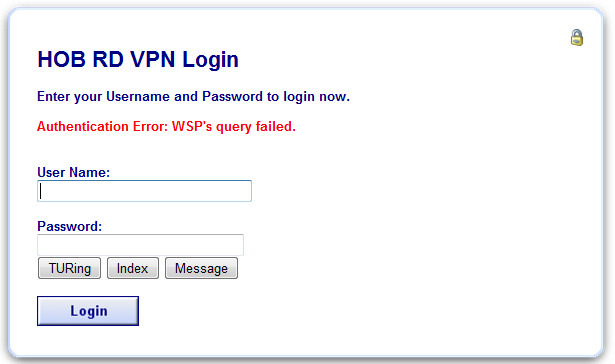
The HOB RD VPN WebSecureProxy will now be configured to allow authentication for Dual channel such as SMS and mobile phone applet. To configure additional options such as the graphical single channel image, and the security string index the login page must be modified. See also Multiple Security Strings How To Guide
Edit the pinsafe.js file and change the IP address of the PINsafe server to be that of the public NAT address of the PINsafe server.
pinsafeUrl = "http://192.168.1.100:8443/proxy/";
For a Swivel virtual or hardware appliance this will usually need to be: pinsafeUrl = "https://192.168.1.100:8443/proxy/";
For a software only install see Software Only Installation
Backup the original files and then upload the modified files and login pages to the Hob RD VPN server, <path to install>\HOB\rdvpn\www\login
The default installation path is: c:\Program Files\HOB\rdvpn\www\login
For changes to the login page to take effect the HOB WebSecureProxy may need to be restarted.
Change PIN
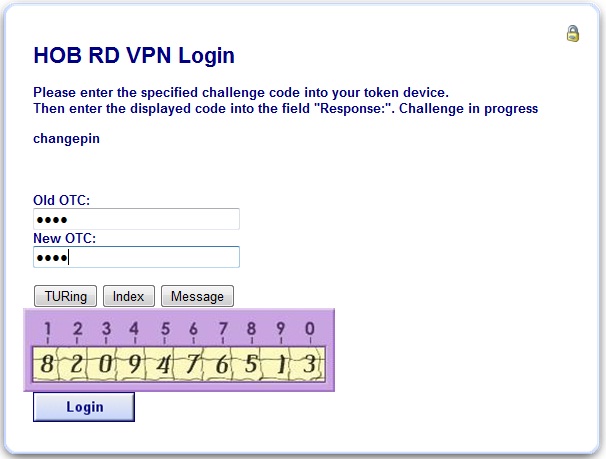
To enable ChangePIN, on the PINsafe administration console select RADIUS/NAS then set ChangePIN Warining to Yes. Upload the modified login pages as detailed above. When a user is required to change their PIN they are automatically redirected to the ChangePIN page. Remember that the PIN number is never entered during the changePIN process, instead old and new one time codes are entered. A user may use SMS or tthe mobile phone to change their PIN. If a PINsafe password is being used, they must use <password><OTC>.
Challenge and Response and Two Stage Authentication
To enable Challenge and Response and Two Stage Authentication:
1. Upload the modified login pages as detailed above.
2. On the PINsafe administration console select RADIUS/NAS then set Two Stage Auth to Yes.
3. On the PINsafe administration console select RADIUS/Server and set Use Challenge/Response to Yes.
4. On the PINsafe administration console select Policy/Password and set Require Password to Yes, and Check Password with Repository to Yes. In PINsafe 3.8 this option is located under RADIUS/NAS.
When a user logs in they will be prompted to enter their password, and if correct will be redirected to another page where they can enter their one time code. The Challenge and Response option allows the user to be sent an SMS message on a correct password being entered.
Verifying the Installation
Attempt a login using the username and One Time Code.
For the dual channel login using SMS or mobile phone applet, enter the username, and then the One Time Code. Do not click on the TURing button. If the Message button has been added, then this can be used to request a new SMS message after the username has been entered.
For the Single Channel authentication enter username and click on TURing.
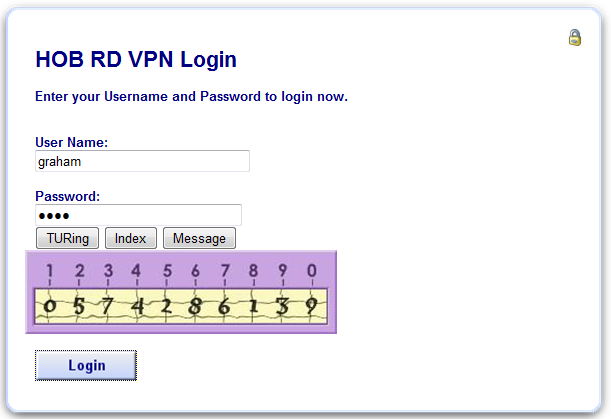
Enter the One Time Code then click on login.
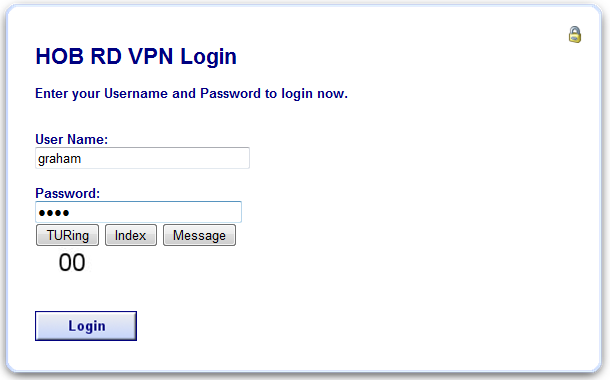
If multiple Security Strings are being sent by SMS, then the string index can be requested to tell the user which security string should be used. Enter the username then click on Index. Enter the one time code associated with that number.
Verify that entering an incorrect one time code fails an authentication.
Uninstalling the PINsafe Integration
Copy the original files back on the HOB RD VPN server, and remove the PINsafe RADIUS server from the HOB RD VPN WebSecureProxy. Remove the PINsafe RADIUS server entry under RADIUS Servers.
Troubleshooting
Check the PINsafe logs for error messages. Specifically look for RADIUS requests to see if they are reaching the PINsafe server and Session Started messages to verify Single Channel images are being requested where used.
